Checklist · Before every lesson
Classroom projector setup checklist: pre-lesson checks
A classroom projector setup checklist covers eight checks to run before each lesson: a stable surface, clear vents, power connected and cables out of walkways, the right input selected, the image aligned and focused, real lesson content on screen, room lights set as in class, and the result recorded. Run all eight before learners arrive; the one-off room planning that comes first, from seating to throw distance, is in the classroom projector setup guide.
Reviewed 22 September 2026
Key takeaways · the checklist
What is on a classroom projector pre-lesson setup checklist?
- Stable surface. Stand the projector on a firm table or its tripod where nobody will knock or tilt it.
- Vents clear. Keep bags, papers and curtains away from the air vents.
- Power and cables. Connect the supplied power adapter or cord, or check a battery model's charge, and run cables along a wall or under a desk, never across an aisle.
- Source and input. Connect the lesson device and select the matching input on the projector.
- Aligned and focused. Square the projector to the wall and focus until the smallest text is sharp.
- Real lesson content. Open the actual slides, worksheet and video, not a test pattern.
- Room lights as in class. Set blinds and lights the way they will stay, then check from the back row.
- Result recorded. Note anything unresolved and who will fix it before the next lesson.
Method and scope A pre-use routine for a portable projector in a Malaysian classroom or training room, using the V6 as the main example and the packing lists and battery figures Neon+ publishes for its other models. It is not a ceiling-mounting or electrical-installation procedure.
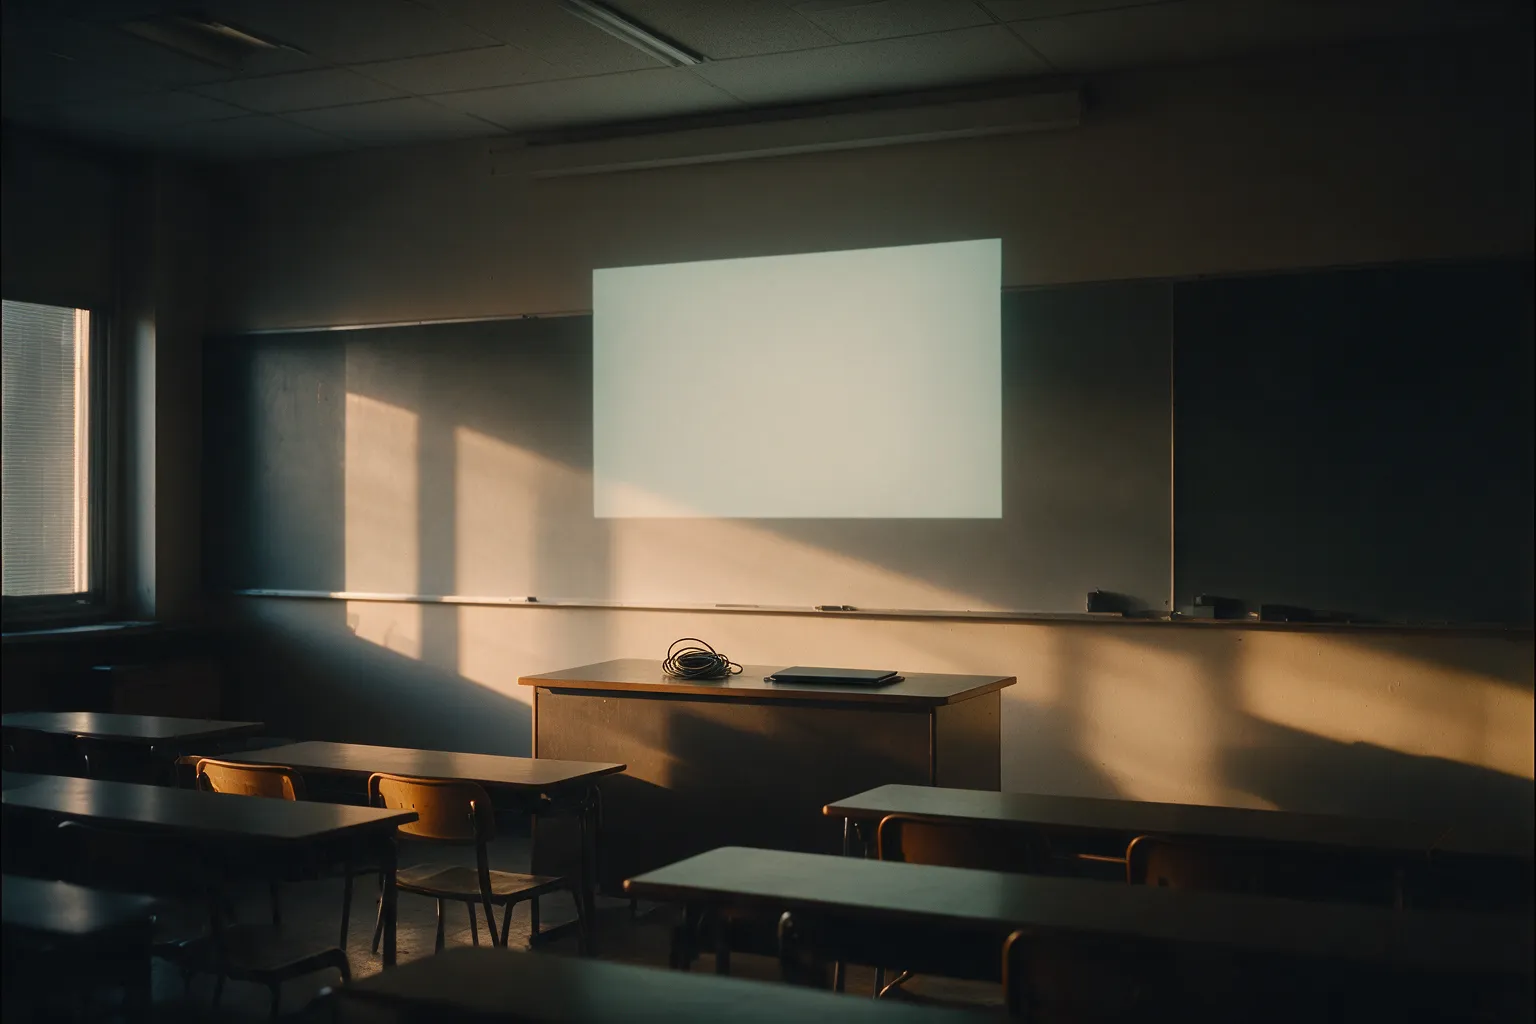
How should the projector be placed and ventilated?
Place a classroom projector in the middle of a firm table, or on its tripod if one is supplied (the Neon+ V6 box includes one), where nobody will bump or tilt it, with nothing against its vents and the beam clear of the teacher's usual spot and the doorway. If your model's instruction card or manual gives a minimum gap around the vents, use that figure.
Epson's projector safety instructions put the two placement rules plainly: “Do not place the projector on an unstable cart, stand, or table or on a surface that is unable to support its weight.” and “Do not block the slots and openings in the projector case. They provide ventilation and prevent the projector from overheating.” Epson also prints a rule worth repeating to learners: “Do not look into the lens when the projector is on.” If the projector must move mid-lesson, decide its second position now rather than during class.
- Good spot
- Centre of a firm table or on the tripod, outside the walkway
- Poor spot
- Desk edge, stacked books, a chair, or anywhere a bag strap can catch it
- Vents
- Nothing touching the vents: no bags, papers or curtains
- Beam
- Clear of the teacher's standing spot and the doorway
How should power and cables be checked?
Check a classroom projector's power by using only the power adapter or cord supplied for that projector, looking it over for cracked insulation or bent pins before plugging in, and routing every cable along a wall or under desks, never across an aisle where someone can trip or pull the projector down. For a battery model, check the charge before learners arrive.
Epson's same safety instructions give the reason: “Do not place the projector where the cord can be walked on. This may result in fraying or damage to the plug.” For the Neon+ V6, the supplied power is the 19 V / 3.42 A adapter; the V6 has no built-in battery, so keep its adapter connected for the whole lesson. Neon+'s published V6 specification lists 40 W total power consumption. Do not improvise with a chain of extension leads or a damaged socket. If an outlet, plug or wiring raises any doubt, stop and ask a qualified electrician to look at it.
- V6 adapter
- 19 V / 3.42 A
- Power use
- 40 W
- Built-in battery
- None
- Power items in the box
- Adapter + power cord
Three Neon+ models list a built-in battery: the C2000, K5 and V8. For those, the pre-lesson check is the charge level, because Neon+ lists 100 to 130 minutes of battery life in highlight mode across the three and lists each as usable while charging. If a lesson may run longer than the published figure, keep the adapter plugged in. The battery or mains-powered projector guide compares the two approaches.
| Neon+ model | Battery life, highlight mode | Full charge |
|---|---|---|
| C2000 | 130 minutes | About 3 hours |
| K5 | 130 minutes | About 4 hours |
| V8 | 100 minutes | About 4 hours |
The Neon+ V6 product page lists 40 W total power consumption, a 19 V / 3.42 A adapter and no built-in battery; the battery figures are from the C2000, K5 and V8 product pages.
How should you test the projector's input and image before class?
Test a classroom projector's source and image by connecting the same laptop, document camera or media device the lesson will use, selecting its input on the projector, and showing representative slides, small text, a diagram and a short video at the planned image width. Then check focus, alignment and sound from the back row, with the room lights that must stay on.
The input test
Connect the lesson device with the cable or adapter you will use in class, select its input on the projector and confirm the desktop, then the slides, appear on the wall. If something looks wrong, change one setting at a time so you know which change fixed it, and keep a fallback ready, such as a second device or an offline copy of the lesson, tested once before class. The first two rows of the table below cover the usual input faults.
The image test
In a room with louvred or unblinded windows, run the image test at the hour the lesson will be taught, because afternoon sun on the image wall can wash out a picture that looked fine in the morning. Size and light change what the back row sees: BenQ Malaysia's projector brightness guide notes that “The larger the image, the more light is required to maintain a bright, clear picture.” The room-light and image-size guide explains why a smaller or darker demonstration can mislead, and the projector glossary defines the input and resolution terms on a spec sheet.
| Symptom | Change first | Then check |
|---|---|---|
| No signal or a blank screen | The input selected on the projector, then re-seat the cable at both ends | The laptop's desktop appears on the wall |
| Desktop shows, but not the slides | The laptop's display mode: set it to duplicate (mirror) | The same slide is on the laptop and the wall |
| Edges of the slide cut off | The laptop's display resolution or scaling, then the projector's zoom or aspect setting if it has one | The full slide border is visible |
| Text soft at the back | Focus, then image width | The smallest line reads from the back row |
| Image wider at the top | Level the projector, or raise it nearer the image centre, before using keystone correction | The top and bottom edges are the same width |
| One side taller than the other | Square the projector to the wall | Both side edges are vertical |
| No sound | The laptop's audio output device | Sound reaches the back row |
Which setup items come in the box with each Neon+ projector?
Neon+ publishes a packing list for each projector, and the lists differ most on two items a lesson depends on: a tripod and an HDMI cable. As published, only the Q1, C2000 and V6 lists include a tripod, and only the K5 and V6 lists include an HDMI cable. Every list includes a remote control and an instruction card. Check your model's list before the first lesson and add whatever is missing.
| Neon+ model | Tripod | HDMI cable | Power items and extras |
|---|---|---|---|
| Q1 | Listed | Not listed | Power cord |
| C2000 | Listed | Not listed | Power adapter, portable storage bag |
| K5 | Not listed | Listed | Power adapter, power cord |
| V6 | Listed | Listed | Power adapter, power cord |
| V8 | Not listed | Not listed | Power adapter, power cord |
| X5 | Not listed | Not listed | Power adapter, power cord |
| X5 Plus | Not listed | Not listed | Power adapter, power cord, two wireless microphones |
Cables a laptop may still need
For the V6, the product page also lists HDMI 2.0 and two USB 2.0 ports. A laptop with only USB-C output will still need its own adapter to reach an HDMI cable, so check that before the first lesson too. If you are unsure which cable your model and laptop need, call or email Neon+ with both model names before the lesson. The full V6 specification keeps that model's published facts together, and the Neon+ projector range links every model's page.
What should be recorded after the setup test?
Record a classroom projector's working setup while it is in front of you. A short record lets the next teacher rebuild the same configuration from the record instead of from memory, and it gives Neon+ or your school's technician the full picture if something later fails. Note any issue that is still open and name who will deal with it before the next lesson.
The classroom projector setup guide covers the one-off planning that comes before this routine: seating, throw distance and a fallback source.
- Model and room
- Projector model and the room it was set up in
- Position
- Where it stood and the image width on the wall
- Source
- The device, the adapter and the input selected
- Power
- The adapter or cord and the socket used
- Picture and light
- The picture mode, blinds and lights left on
- Open issues
- What is unresolved and who will fix it, by when
When should you stop the setup and ask for help?
Stop a classroom projector setup if a cable or plug is damaged, if the projector runs unusually hot with its vents clear, or if the only workable position blocks an exit route. This checklist covers a portable projector set up for a lesson; ceiling mounting, fixed wiring and permanent installations depend on the exact projector, compatible hardware and the building, so use a qualified installer or electrician for those.
For a question about a Neon+ model, email your setup record and the model name to info@neonplus.com.my, or use the Neon+ contact page.
Quick answers
What do teachers ask about the pre-lesson checklist?
What projector checks should a teacher run before class?
A stable surface, clear vents, power connected and cables out of walkways, the source connected with the right input, an aligned and focused image, real lesson content on screen, room lights set as in class, and a short record of the result. Run them before learners arrive, early enough to fix a missing cable or a wrong input before the lesson starts.
Why does the projector say no signal?
Check the input selected on the projector first: it must match the port the lesson device is connected to. Then re-seat the cable at both ends and confirm the laptop's desktop appears on the wall. If the desktop shows but the slides do not, set the laptop's display to duplicate (mirror).
Can this checklist be used for a ceiling installation?
No. It is a pre-lesson routine for a portable projector on a table or tripod. Ceiling mounting depends on the exact projector, compatible mounting hardware, the ceiling itself and the wiring to it, so follow the model's instruction card or manual and use a qualified installer or electrician for the bracket, the fixing and any power run.
What setup accessories come in the box with a Neon+ projector?
Every Neon+ packing list includes a remote control and an instruction card. As published, a tripod is listed only for the Q1, C2000 and V6, and an HDMI cable only for the K5 and V6. The V6 is the only model whose published list includes both a tripod and an HDMI cable: remote, power adapter, power cord, tripod, HDMI cable and instruction card.
Sources
Where do the figures on this page come from?
- Neon+ V6 product page: the packing list, HDMI 2.0 and USB 2.0 ports, 40 W power consumption, the 19 V / 3.42 A adapter and the absence of a built-in battery.
- Neon+ product pages for the Q1, C2000, K5, V8, X5 and X5 Plus: each packing list and, for the C2000, K5 and V8, the published battery life and charging time.
- Epson, Important Safety Instructions: the quotations on stable placement, ventilation openings, power cords and looking into the lens. They describe Epson projectors only, not any Neon+ model.
- BenQ Malaysia, projector brightness and lumens guide: the quotation on image size and brightness. It does not describe any Neon+ model.
The remaining alignment, content-test and record-keeping checks are general practice for portable projectors. Where a model's instruction card or manual gives different instructions, follow it.
Where should you send a failed setup check?
If a check fails on a Neon+ projector, send the model, the source device, the adapter, the image width and what went wrong, and ask Neon+ what to try next.
More Neon+ guides and pages
- About Neon+, the portable projector brand from Ipoh
- Contact Neon+: phone, email and the Ipoh showroom
- Neon+ questions, answered
- Projector glossary: spec-sheet terms, defined
- Neon+ projector guides
- Neon+ privacy policy
- Neon+ V6 projector specifications
- How to choose a portable projector: start with the room
- How to set up a classroom projector in Malaysia
- Neon+ warranty, delivery and support: what to know before you buy
- Native resolution vs supported input: what projector buyers should check
- Battery projector or externally powered projector?
- How room light and image size affect projector brightness in a classroom
- What a 1.2:1 throw ratio means for projector placement